Common Mistakes When Planning An Entryway Organisation Setup That Stays Tidy
A practical step-by-step guide to common mistakes when planning an entryway organisation setup that stays tidy, including preparation, instructions, common issues, tips, and next steps.
Common Mistakes When Planning An Entryway Organisation Setup That Stays Tidy
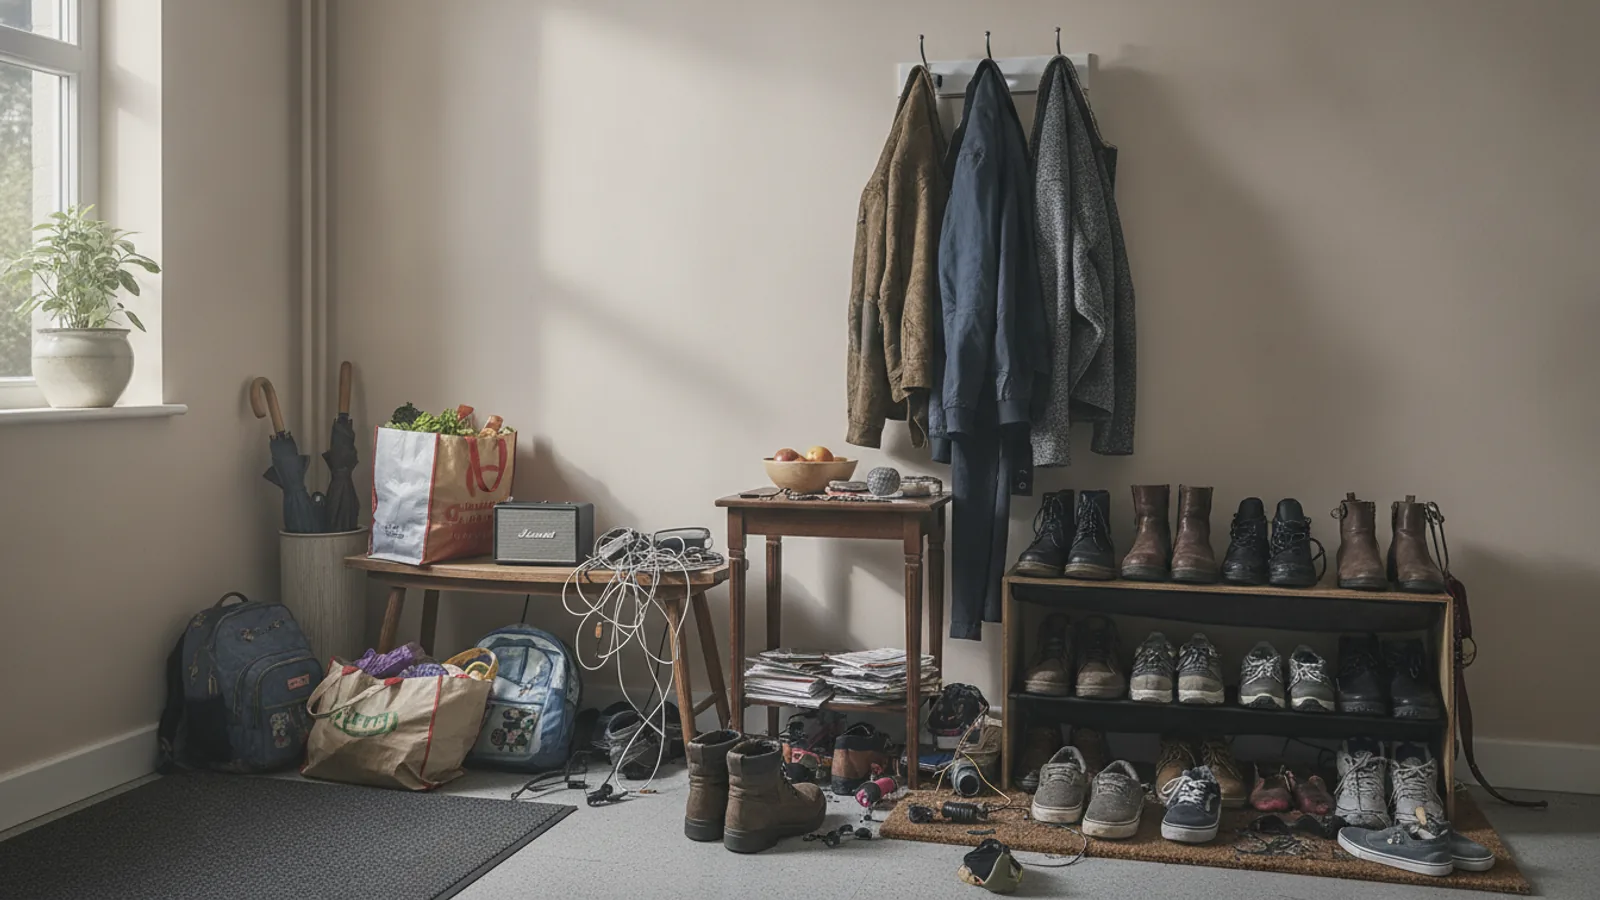
Organising an entryway that stays tidy requires more than baskets and hooks. Many people choose beautiful containers or clever layouts but forget how daily life actually flows through the space. This guide helps you avoid the most common planning mistakes—like ignoring floor clearance, forgetting seasonal needs, or choosing drop zones without thinking about who uses them. By focusing on realistic habits, sensible proportions, and simple maintenance, you can design an entryway that works for years. The key is to plan for the mess you already have, not the ideal you imagine. You will learn step by step how to assess your space, choose the right storage, set up routines, and adjust as your needs change. The result is a calm, welcoming entry that never becomes a dumping ground.
Fast Answer
- Measure your actual floor space and entry path before buying any furniture, and always leave at least 90 cm for walking so the area never feels cramped.
- Plan for items you actually bring inside daily—think keys, bags, shoes, outerwear, pet leads, parcels—and give each type a clear, visible home that makes putting away effortless.
Before You Start
- Measure the entryway length, width, and ceiling height using a tape measure, then sketch a simple floor plan on paper to test furniture arrangement without heavy lifting.
- Walk through your home for three normal days and make a list of every item that enters and leaves through the front door, noting times of day and who carries them.
- Photograph your current entryway from every angle and print the photos so you can sketch ideas directly over them, which helps you see clutter and traffic patterns clearly.
- Collect a small supply of baskets, hooks, labels, and shelf dividers before you start, so you can adjust storage without running to the shop mid-project.
Step-by-Step Instructions
Clear the space and map daily traffic
Start by removing everything from the entryway, including rugs, furniture, and wall decor. Sweep and wipe the floor, walls, and any fixed shelving so you have a clean canvas. Then stand at the door and imagine yourself coming inside with a full bag, maybe carrying a child or a heavy parcel. Mark the natural walking path with painter's tape on the floor, making it at least 90 centimetres wide. This is your non-negotiable zone for movement. Now observe how household members actually use the door: do they drop keys immediately, kick off shoes while still walking, or hang coats before greeting anyone? Write down these patterns on a pad. The check here is to walk the taped path several times, both with empty hands and while holding a pretend bag, to ensure you never feel squeezed. Why this check matters: if your design blocks the natural flow, you will always end up dumping items on the floor out of hurry and frustration.
Sort your entering items into categories
Gather everything you or your family typically bring in: mail, keys, umbrellas, dog leads, reusable bags, sports gear, sunglasses, school papers, and any other frequent items. Spread them on a table and group them by how often they come in and how quickly they must go out. For example, keys and phone are immediate drop items, while mail might wait a few hours. Shoes and outdoor clothing are take-off items, and parcels or groceries are temporary. Use small sticky notes to label each pile with the frequency like 'daily', 'weekly', or 'seasonal'. Now decide for each group where a natural drop zone should be: a hook, a bowl, a shelf, a bin, or a wall mounted rack. The check is to ask two questions: can I put this away in under five seconds, and does this spot make sense given the traffic path? Explain why this matters: when every category has a dedicated spot near the entry point, you tend to use it automatically, which prevents the floor pile syndrome.
Choose storage that fits the actual proportions
Using your floor plan and the marked path, now decide on the size and type of storage. Measure each potential piece of furniture, and sketch it to scale on graph paper, then cut out paper shapes to move around on your plan. For a narrow entry, consider wall mounted shelves that hold only a shallow tray and a few hooks. For a wider space, a low bench with baskets underneath offers seating plus concealed shoe storage. Remember to account for the depth of open coats hanging on hooks—they stick out about 25 centimetres. For shoe storage, count the maximum pairs any one person might drop off at once, and add two extra slots. The check is to tape the exact dimensions on the floor using boxes or painter's tape, then leave them for a day to see if they interfere with opening the interior door or any storage doors. Why this check matters: furniture that looks good in a store can easily block a doorway or make the hallway feel like a maze.
Set up zones for immediate and delayed actions
Now create three clear zones: a fast-drop zone for keys, mail, and phone; a take-off zone for shoes, coats, and bags; and a temporary zone for parcels, groceries, or items that need to move upstairs. Place a shallow dish or a small shelf in the fast-drop zone, mounted at a height that is reachable without bending. In the take-off zone, install hooks at two heights: one set for adults and another lower set for children. For shoes, a low slide out tray or a simple two tier rack works better than a deep cabinet, because you can kick shoes into place. For the temporary zone, provide a large basket or a folding crate that is clearly labelled 'to go up' or 'for charity'. The check is to time yourself doing a realistic entry with two bags and a phone: if you cannot complete the drop and take-off in under 60 seconds, adjust the layout. Why this matters: if putting away takes too long or requires too many steps, you will abandon the system quickly.
Create a five minute daily reset routine
Design a simple routine that happens twice a day: once in the morning when you leave, and once in the evening when you come back. In the morning, spend one minute moving anything that belongs upstairs into a portable tote. Another minute to hang stray coats and put shoes into their spots, and a final minute to wipe down the entry surface with a microfiber cloth. In the evening, when you arrive, do a one-minute sweep: put keys in the bowl, hang your coat, kick shoes under the bench, and drop mail into the temporary bin. The check is to follow this routine for three days and adjust the timing or locations if you find yourself skipping a step. Explain why this matters: a short, specific routine prevents the entryway from snowballing into a chaotic pile, and it trains every household member to follow a predictable pattern.
Review and adjust after one full week
After living with your new entryway setup for a week, set aside fifteen minutes to evaluate what works and what does not. Stand at the door and watch how your family uses each zone during a normal afternoon. Look for signs of trouble: items that repeatedly land on the floor, baskets that overflow, hooks that stay empty, or shoes that end up in a pile by the door. For each problem, ask 'what is the smallest change that would fix this?' Perhaps you need a wider tray for keys, an extra hook for bags, or a different height for the shoe rack. Make those adjustments immediately, even if it means swapping furniture from other rooms. The check is to repeat this evaluation every two weeks for the first two months, and then monthly, because seasonal changes bring different items like sunscreen, gloves, or sports gear. Why this matters: a tidy entry is not a one-time design—it is a living system that needs fine-tuning as your habits and seasons change.
Quick Reference
| Situation | Action | Why it helps |
|---|---|---|
| You constantly find keys and sunglasses lost on the floor near the door. | Install a wall-mounted, shallow tray with a lip at a height just above your waist and place a small dish inside for keys and a separate box for sunglasses. | A thin tray with a lip catches small items as you walk in, and the dish gives a specific spot that your hand naturally finds, so you always know where to put them and where to look. |
| Shoes are always scattered around the entryway even though you have a bench. | Add a low, slide-out shoe tray that sits beneath the bench and label each section with family member names, then make a rule that everyone must push the tray back after removing shoes. | A slide-out tray turns the under-bench void into a usable shoe home, and the personal labels create ownership, so each person knows exactly which slot belongs to them. |
| Coats and jackets end up draped over chairs or the banister. | Measure the number of regular users and add two extra hooks at a height of 150 centimetres for adults, plus a lower row at 105 centimetres for children, and place a small shelf above for hats and scarves. | Providing enough hooks at the right heights makes hanging a coat effortless, and the shelf for accessories gives a clear home for items that often get dropped, preventing overflow. |
Common Issues
- The entryway looks tidy right after setup but reverts to a chaotic pile within days.: Identify the specific items that are not being put away and move them to a spot that is more convenient for the user. For example, if mail piles on the table, place a labelled tray directly on the table so sorting takes one second. Add a small bin for 'to do later' items and carry them upstairs during your daily reset.
- Floor space is too tight because furniture is too large for the hallway.: Measure your walking path clearly and mark the distance. Replace any piece that extends more than 20 centimetres into that path with a slimmer profile. Use wall-mounted hooks and shelves to free up floor space, and consider a fold-down bench that flips up when not in use.
- Children and guests ignore the designated zones because they cannot reach or see them.: Add a low hook row for children and a labelled bin for guests at a height they can use. Use bright, simple labels with pictures or icons, and place a small sign near the door that shows 'shoes here', 'coats here'. Make the system self-evident so anyone can use it without instructions.
Advanced Tips
- Use magnetic strips inside a cabinet door to hold small metal items like keys and tools, keeping them out of sight yet instantly reachable without a bowl.
- Install a clear wall pocket shoe organiser on the inside of the entry closet door to store gloves, scarves, or lint rollers, using the vertical space that is often wasted.
- Create a 'launching pad' shelf that includes a power strip for charging devices, but keep it concealed behind a corner to avoid visual clutter and cable tangles.
Final Checklist
- Measure the walking path and ensure at least 90 cm of clear floor space from the door to the interior entrance.
- Assign a specific home for each category: keys, shoes, coats, bags, mail, and temporary items—all labelled.
- Set a daily reset routine of five minutes and post it in a visible but non-ugly place like a cabinet interior.
- Perform a weekly review and adjust as needed, especially after seasonal changes or a change in household size.
FAQ
What is the most important thing to plan first for an entryway organisation?
The most important thing is to measure the actual walking path and observe how your household uses the door. If you block the natural flow, no amount of storage will keep the floor clear, because people will drop items to free their hands. Start by clearing the space, taping the path, and walking it several times with bags, then buy only items that fit within that boundary.
How do I keep the entryway organised when I have a busy family?
Create zones for different actions and make each zone dead simple to use. Use low hooks for kids, a wide tray for keys, and a labelled bin for temporary items. Then establish a two-minute reset routine every evening where everyone has a small task, like hanging one coat or placing shoes on the rack. Consistency is key, so keep the system obvious and forgiving.
I have a tiny hallway; what storage is best for a narrow entryway?
For a narrow entryway, focus on vertical storage: wall-mounted shelves, hooks, and a slim console table that does not project more than 15 centimetres into the path. Use a shallow tray on the shelf for keys and a fold-down bench that flips up to keep the floor open. Consider a shoe rack that slides out from under a bench, and avoid any deep cabinets that make the space feel cramped.