A Weekend Home Reset With Realistic Priorities Checklist For First Time Readers
A practical step-by-step guide to a weekend home reset with realistic priorities checklist for first-time readers, including preparation, instructions, common issues, tips, and next steps.
A Weekend Home Reset With Realistic Priorities Checklist For First Time Readers
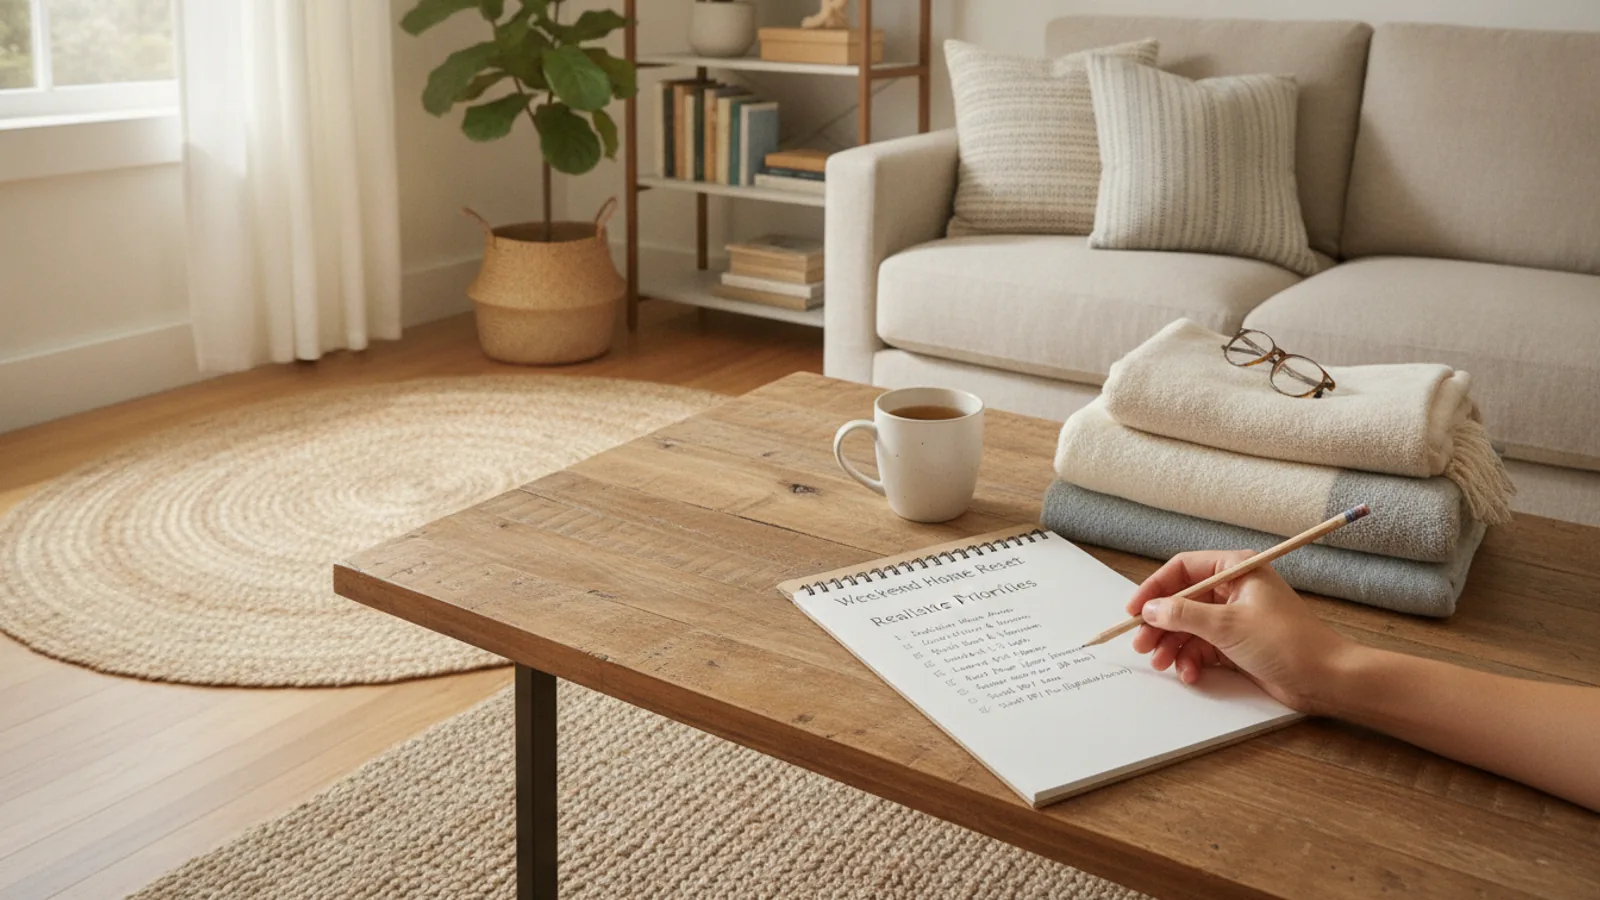
A weekend home reset is a focused, low-pressure session to bring order back to your living space without turning the entire weekend into a chore. This guide helps first-time readers set realistic priorities, use a simple checklist, and finish with a calmer home and a clearer mind. You will learn how to prepare in advance, work through six practical steps, and avoid common mistakes. The aim is not perfection but progress that feels doable and lasting.
Fast Answer
- Pick two or three high-impact zones in your home, such as the kitchen counter, entryway, and bedroom floor, and focus your reset energy there rather than trying to tackle every room at once. Then use a simple timer to work in 20-minute bursts with short breaks to keep your momentum steady without burnout.
- For a realistic weekend reset, start by clearing surfaces and trash in your chosen zones, then sort items into keep, donate, or trash bins, and finish by wiping down each cleared surface. This gives you visible progress in a short time and creates a clean foundation for the week ahead.
Before You Start
- Gather a few large boxes or bags and label them clearly with keep, donate, trash, and relocate. Having these containers ready before you start prevents you from stopping to search for supplies and helps you sort items quickly and consistently.
- Set a kitchen timer or use your phone's timer app. Decide on a work block length that feels sustainable for you, such as 20 minutes of work followed by 5 minutes of rest. This prevents fatigue and keeps your reset from becoming overwhelming.
- Choose your two or three focus zones before Saturday morning. For example, select the main entryway, the kitchen sink and counter, and the bedroom dresser top. Write those zones on a sticky note or in your phone's notes so you can see your plan at a glance.
- Turn off notifications on your phone or put it in another room while you work. Visual and audio distractions pull your attention away from the task and make it harder to finish each step. This simple action helps you stay present and complete your reset more efficiently.
Step-by-Step Instructions
Set a Manageable Scope for Your Reset
Before you start, decide exactly what you will accomplish. Look around your home and pick two or three areas that are causing the most stress, such as a cluttered entryway that greets you every day, a kitchen counter that collects mail and dishes, or a bedroom floor where clothes pile up. Write these zones on a piece of paper or in your phone's notes. For each zone, define a clear outcome, such as 'cleared counter, wiped down, only daily-use items remain'. Keep your list short and specific. This prevents aimless wandering and gives you a clear endpoint for each session. You are not promising to organize your whole house; you are promising to bring order to a few key places. This realistic scope will help you finish what you start and feel successful rather than defeated. After you finish a zone, you can always add another if you have energy, but your main goal is these two or three areas.
Clear Surfaces and Gather Trash Quickly
Start with your first chosen zone. Remove everything from the main surfaces: the counter, table, dresser top, or floor space you are clearing. Do not sort yet; just move items to a neutral holding spot like a chair or a section of the floor. As you clear, hold a trash bag or bin beside you and immediately toss obvious trash: crumpled papers, empty wrappers, broken items, and anything you know is no longer useful. This quick first pass creates instant visual progress and gets rid of junk that would otherwise slow you down later. The goal is not to organize now but to expose the surface and see what you are truly keeping. After you finish clearing, look at the empty surface and give it a quick wipe with a damp cloth to remove dust or crumbs. This simple action makes the space feel cleaner immediately and prepares it for the next step. You are building momentum, so keep moving and do not get bogged down in sentimentality yet.
Sort Items into Keep, Donate, and Trash Bins
Now that the surface is clear, pick up the items you set aside and look at each one. Use your labeled boxes or bags to sort each item into one of three groups: keep, donate, or trash. Ask yourself simple questions as you sort: Have I used this in the past year? Is it in good condition? Does it have a home in this zone or somewhere else? If the answer is yes to all three, place it in the keep box. If it is usable but you do not need it, put it in the donate box. If it is broken, worn out, or has no purpose, it goes to trash. Be honest with yourself; that sweater with a missing button may be mendable, but if you have not worn it in two years, consider donating it. The goal is to reduce clutter to what you actually use and love. This process also helps you see patterns, like how much paper mail you collect. Once you finish sorting, you will have a clear pile of things to relocate or give away.
Assign a Home to Each Keeping Item
For every item you decided to keep, decide where it will live in your home. The goal is for each thing to have a designated spot near where it is used, so you can find it easily and put it away effortlessly. For example, mail that needs attention could go in a single tray on your desk, keys go on a hook by the door, and daily vitamins go in a drawer near the kitchen sink. As you assign homes, place the keep items directly into their new spots. Do not just pile them back on the surface; physically move them to their new location. If an item's proper home is in another room, put it in a 'relocate' box and plan to carry it there after you finish your current zone. This step prevents the zone from becoming cluttered again quickly. By giving each item a clear address, you reduce decision fatigue for future cleanups and make it easier to maintain order.
Wipe Down Surfaces and Do a Final Sweep
With the zone partially cleared and sorted, it is time to clean the actual surface. Use a damp cloth or an all-purpose cleaner that fits your household's safety guidelines, and wipe the top of the counter, table, or dresser. Remove any sticky spots, dust, or crumbs. For a floor zone, use a broom or vacuum to pick up debris. Then look at the entire zone with fresh eyes. Notice anything out of place that you missed? Take a moment to relocate those items or put them in the trash if they are junk. This final polish makes the area feel genuinely fresh and completed. It also gives you a clear visual signal that this zone is done, which boosts your motivation to continue. After finishing, step back and appreciate your work. You have cleared a high-impact area and created a cleaner, more peaceful spot in your home.
Take a Rest and Plan Your Next Session
After completing one or two zones, step away from the work for at least 15 minutes. Sit down, have a glass of water, stretch, or take a short walk around your block. This rest is not a luxury, it is necessary to prevent fatigue and decision burnout. While you rest, think about your progress. What did you accomplish? What worked well? Do you have energy to tackle another zone today, or is it better to stop here and continue tomorrow? If you planned to finish over the weekend, decide which two or three zones remain and schedule them for the same time tomorrow. Write down your next steps on your checklist so you know exactly what to do next session. This also gives you a sense of control and accomplishment. By respecting your limits and planning ahead, you are building a sustainable habit of home management.
Quick Reference
| Situation | Action | Why it helps |
|---|---|---|
| You feel overwhelmed by the mess and don't know where to start. | Pick one small surface, like the bathroom counter or a single shelf, set a timer for 10 minutes, and clear just that space. | This breaks the task into a tiny, achievable goal that gives you immediate momentum and proof that you can make progress. |
| You are torn about whether to keep an item you never use. | Place the item in the donate box and commit to letting it go. If you later need it, you can borrow or buy it when the need arises. | Holding onto unused items adds clutter and mental load. Letting go frees physical space and reduces stress. |
| You run out of time mid-way through your reset, leaving a half-organized zone. | Stop at a natural break, put obvious trash in the bin, and contain loose items in a labeled box. Then finish the zone in your next session. | A partially done zone with a clean surface and a labeled box is better than an abandoned project, and it preserves your progress. |
Common Issues
- You try to organize every room and end up exhausted with nothing finished.: Limit your reset to two or three zones and stick to that plan. Use the timer method to work in short bursts and allow breaks. If you feel tempted to clean another room, pause and remind yourself that finishing a few areas well is more satisfying than starting many.
- You sort items but then leave the keep pile in the middle of the floor or on the sofa.: Immediately assign a temporary home for anything you keep. If you don't have a spot, put the item in a 'relocate' box and move it to its home as soon as you finish the zone. This prevents new piles from forming and keeps your space clear.
- You feel guilty about donating or throwing away things you spent money on.: Remind yourself that the money is already spent and that keeping clutter costs you mental energy and peace. Focus on the benefit of a cleaner home. You can also photograph sentimental items before letting them go, so you keep the memory without the physical object.
Advanced Tips
- Use a 'one-touch' rule for mail and papers: when you pick up a piece of paper, immediately decide to act, file, recycle, or shred it. This prevents paper piles from forming.
- After your reset, set a recurring 15-minute daily 'reset timer' to put away loose items in your focus zones, so they stay clear for the week.
- For a truly lasting result, schedule a 'donation drop-off' day in your calendar for the same weekend you do your reset. This creates a deadline that encourages you to complete the sorting.
Final Checklist
- I chose two or three specific zones and wrote them down with a clear outcome for each.
- I gathered labeled keep, donate, and trash containers and set a timer for each work block.
- I cleared every surface in my focus zones, sorted all items, and assigned a home to everything I kept.
- I wiped down surfaces, took a rest break, and scheduled my next reset session if needed.
FAQ
How often should I do a weekend reset?
It depends on your household and lifestyle, but a monthly reset is a good starting point for many people. If your home gets messy faster, you might benefit from a reset every two weeks. The key is to make it realistic and repeatable. You can adjust the frequency based on your own needs. The focus is on maintaining order, not perfection.
What should I do with items that don't fit in the keep, donate, or trash categories?
For items that need repair, have sentimental value, or you are unsure about, create a 'maybe' box and label it with a date six months from now. Store it out of sight. If you don't open that box in six months, you can safely donate or recycle the contents. This gives you permission to let go without immediate pressure.
How can I prevent my home from getting cluttered again after a reset?
The most effective way is to adopt a 'one in, one out' rule: for every new item you bring in, you let go of an old one. Also, set a daily 10-minute tidy-up routine where you do a quick sweep of surfaces and put things back in their assigned spots. This small habit prevents clutter from accumulating.