A Practical Kitchen Refresh Without Moving Plumbing Checklist For First Time Readers
A practical step-by-step guide to a practical kitchen refresh without moving plumbing checklist for first-time readers, including preparation, instructions, common issues, tips, and next steps.
A Practical Kitchen Refresh Without Moving Plumbing Checklist For First Time Readers
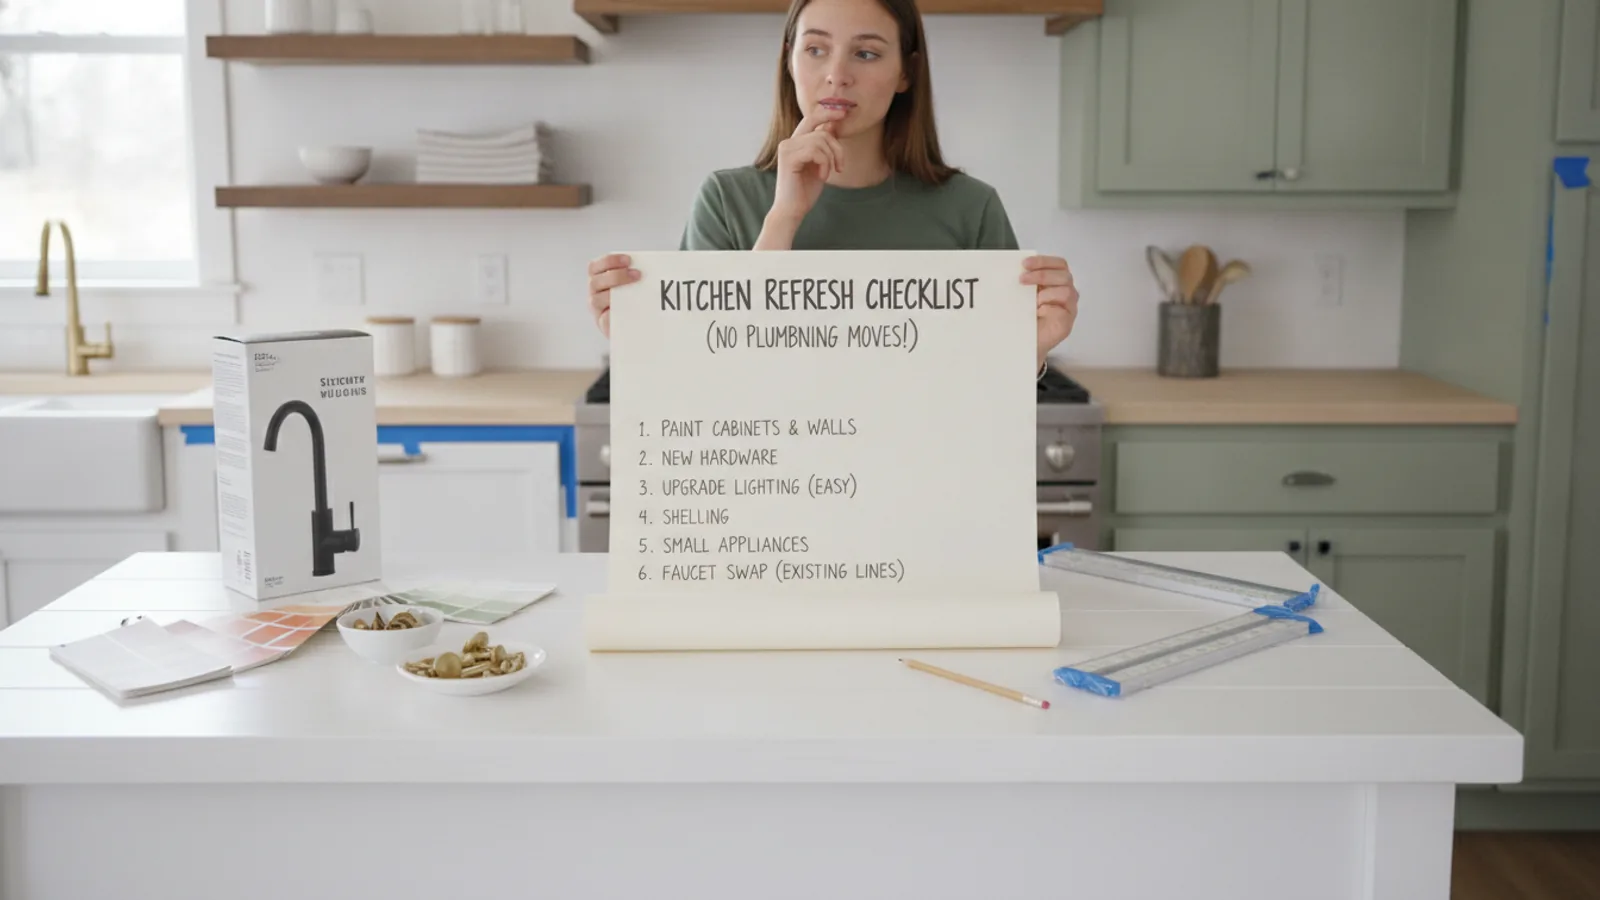
A practical kitchen refresh can dramatically improve the look and function of your space without the cost, mess, and complexity of moving plumbing. This guide walks first-time readers through a step-by-step checklist that covers planning, protective prep, cabinet and hardware updates, surface improvements, lighting upgrades, and final quality checks. By focusing on what you can safely change around existing pipes and fixtures, you avoid costly contractor work and still achieve a satisfying transformation. The instructions emphasize careful measurement, surface protection, and smart material choices, with troubleshooting tips for common issues and quick references for decisions like paint vs. new hardware. This is a complete, budget-friendly approach for anyone who wants a fresher kitchen without touching the water lines.
Fast Answer
- Focus on non-plumbing elements: paint cabinets, replace hardware, upgrade lighting, add a backsplash, and refresh countertops with contact paper or resurfacing kits, all while leaving sinks and pipes untouched.
- Follow a logical order: plan and measure first, protect surfaces, then tackle cabinet fronts, hardware, countertops, backsplash, lighting, and accessories, finishing with a thorough cleanup and inspection.
Before You Start
- Measure your kitchen layout carefully, noting the locations of the sink, dishwasher, and any other fixed fixtures so you know exactly where you cannot make changes.
- Gather essential tools like a drill, screwdriver, putty knife, painter's tape, drop cloths, sandpaper, and cleaning supplies to avoid interruptions once you start.
- Choose a cohesive color scheme and material palette beforehand to ensure that cabinet paint, new hardware, and accessories complement each other without clashing.
- Clear all countertops and empty cabinets completely, then deep-clean the entire kitchen to remove grease and grime so new finishes adhere properly.
Step-by-Step Instructions
Plan Your Kitchen Refresh
Start by walking through your kitchen with a notepad and measuring tape. Measure the width and height of each cabinet door and drawer front, and note the current hardware style and hole spacing. Decide what you truly want to change: painting cabinets, swapping knobs, adding a backsplash, or updating lighting. Sketch a simple floor plan and mark the location of plumbing fixtures—the sink, dishwasher, and any water lines—so you know exactly where you cannot make structural changes. Determine a realistic timeline, and gather all your supplies and materials a few days in advance to avoid running out mid-project. Check the type of cabinet surface you have (wood, laminate, or painted) to choose the appropriate primer and paint. Finally, set a budget that includes materials, tools, and a contingency fund for unexpected supplies. Do not forget to plan for proper ventilation and adequate drying time for each stage. This careful planning prevents costly mistakes and ensures a smooth workflow.
Prep the Workspace and Protect Surfaces
Clear all countertops, remove items from cabinets, and take out any dishes or appliances that could get in the way. Move furniture and small appliances to another room if possible, or push them to the center and cover with plastic sheeting. Lay drop cloths over the floor, covering a generous area around the work zone. Use painter's tape to mask off edges along countertops, backsplashes, and window frames. Open windows or use fans to ensure good airflow, and set up a work table in a central area for painting and hardware swaps. Wipe down all surfaces with a degreasing cleaner, paying extra attention to cabinet fronts and handles. Rinse and let everything dry completely. This step is essential because any grease or dust left behind will cause paint and finishes to peel or bubble. Also, label each cabinet door and its hinge location with a removable sticker or tape so you can reattach them correctly later. Protecting your space now saves hours of cleaning and prevents damage to floors and appliances.
Refresh Cabinet Doors and Drawers
Remove all cabinet doors and drawer fronts using a screwdriver, and number them so you can hang them back in the same places. Lay them flat on a drop cloth in a well-ventilated area. Clean each piece with a degreaser, then sand lightly with fine-grit sandpaper to create a smooth base. Wipe away dust and apply a bonding primer suitable for your cabinet material; let it dry completely. Paint the doors with a high-quality acrylic enamel or cabinet paint, using a roller or brush, applying thin, even coats. Allow each coat to dry according to the manufacturer's instructions, then lightly sand between coats with fine paper. Aim for two to three coats for durability. For laminate cabinets, use a primer formulated specifically for smooth surfaces. After the final coat dries, reattach the doors and drawers, making sure they align properly. If any hinges are loose, tighten them or replace them with identical sizes. This refreshes the entire look of your kitchen without disturbing any plumbing.
Swap Out Hardware and Hinges
Now that your cabinets are refreshed, update the knobs, pulls, and hinges to match your new style. Measure the existing screw spacing on each door and drawer to ensure new hardware will fit, or fill old holes and drill new ones if you choose a different layout. Remove the old hardware and fill any unwanted screw holes with wood filler, then sand smooth after drying. Install the new knobs or pulls, using a template to ensure consistent alignment. For drawers, use a ruler to find the exact center of the drawer front for a balanced look. Replace hinges if they are worn or rusted, but choose hinges of the same size and screw configuration to avoid misalignment. Check that all doors and drawers open and close smoothly; adjust hinges as needed for a tight, even fit. This simple swap transforms the visual impact of the kitchen and is a low-risk, high-reward DIY task that does not involve any water connections.
Update Countertops and Backsplash
If your countertops are dated but functional, consider a peel-and-stick tile backsplash or a countertop resurfacing kit. Measure the backsplash area carefully and purchase enough material to cover it with a little extra for mistakes. Clean the wall thoroughly and allow it to dry. Apply the peel-and-stick tiles according to the manufacturer's instructions, starting from a corner and working outward, pressing firmly to eliminate air bubbles. Use a utility knife to trim tiles around outlets and edges. For countertops, a resurfacing kit can transform laminate surfaces: clean and lightly sand the top, then apply the bonding coat and finish coats with a roller. Ensure the room is ventilated and allow each coat to cure for the recommended time. These updates do not require any removal of sinks or plumbing fixtures. When working around the sink, use painter's tape to protect the edges and never apply materials that could interfere with the sealant around the sink base.
Upgrade Lighting and Final Touches
Enhance the kitchen's ambiance and functionality by adding under-cabinet lighting or updating a pendant light over the sink. For under-cabinet lighting, choose plug-in LED strip lights that adhere under cabinets and simply plug into an outlet, avoiding any electrical rewiring. Attach the strips along the front edge of the upper cabinets, pressing firmly, and route the cord neatly along the back. For a pendant light replacement, first turn off the power at the circuit breaker, then follow the manufacturer's instructions for removal and installation—this is safe and does not involve plumbing. After lighting is done, add final touches like new shelf liner, a fresh dish rack, and organized storage bins. Clean all surfaces again to remove any dust from earlier steps, and do a walkthrough to spot any missed spots. Every improvement you make is independent of plumbing, so you avoid any water shut-off or pipework.
Quick Reference
| Situation | Action | Why it helps |
|---|---|---|
| You want to change the color of your kitchen cabinets but cannot afford new doors. | Clean, sand, prime, and paint the existing cabinet doors and frames using a high-adhesion primer and enamel paint, then install new knobs or pulls. | Painting is a cost-effective way to transform the look without replacing the boxes or touching plumbing; new hardware enhances the refreshed appearance. |
| Your backsplash is outdated and you want a quick update without tile cutting. | Install peel-and-stick tile sheets directly over the clean, dry wall, pressing firmly and using a utility knife to trim around outlets and edges exactly. | Peel-and-stick tiles offer an instant mosaic look with no mortar or grout, and they pose zero risk to plumbing because they only go on the wall surface. |
| The area under the sink looks messy and you worry about moisture but have no leaks. | Clear the cabinet, clean and dry the interior, place a waterproof liner, and organize supplies in labeled bins, keeping space around the pipes for easy access. | A dry, organized cabinet keeps moisture away and makes it easier to spot early signs of a leak, allowing you to act before the plumbing needs repair. |
Common Issues
- Cabinet paint bubbles or peels shortly after application.: Ensure you used a high-quality primer, sanded thoroughly between coats, and allowed ample drying time; if bubbling occurs, strip the affected area, re-sand, and repaint with the correct primer.
- New hardware screw holes do not line up with existing holes.: Fill the old holes with wood filler, allow it to dry, sand smooth, and drill new holes using a template or a careful measurement from the door edge; apply a small amount of paint to cover the filler.
- Peel-and-stick backsplash tiles start to peel off after a few weeks.: Clean the wall thoroughly with a degreaser and allow it to dry completely before application; press each tile firmly with a smooth tool and heat it with a hairdryer if it lifts to reactivate the adhesive.
Advanced Tips
- Before painting, wipe all cabinet doors with a tack cloth after sanding to remove the fine dust that can cause paint to fail.
- For a high-end look, consider adding decorative molding or small trim pieces to cabinet doors before painting—this can be done with wood glue and finishing nails.
- Use a drill with a depth stop to avoid drilling completely through the door when installing new hardware, preventing damage on the inside of the door.
Final Checklist
- Verify that all cabinet doors and drawers are aligned, open smoothly, and close without rubbing against the frame.
- Check that all new hardware is firmly attached and consistent in placement across all doors and drawers.
- Inspect all surfaces for paint drips, missed spots, or dust nubs, and touch up with a small brush as needed.
- Confirm that the area under the sink is clean, dry, and free of any tools or debris, so you can easily monitor for future issues.
FAQ
Will painting my cabinets damage the plumbing underneath?
No, painting your cabinets does not affect plumbing because the pipes are hidden behind the cabinet walls and are not touched during the painting process. However, you must remove all items from under the sink and cover the area with drop cloths to prevent paint splatters from getting onto the pipes, which would be difficult to clean. Also, avoid using excessive water or moisture while cleaning near the sink, and always dry the surfaces thoroughly. If you are painting the interior of the sink cabinet, take care not to get paint on any visible pipes or connections, and use a brush for edges rather than a sprayer that could overspray.
How can I update my kitchen without changing the sink or faucet?
You can update your kitchen without touching the sink or faucet by focusing on everything else. Start with painting cabinets and changing hardware—this has a huge visual impact. Add a peel-and-stick backsplash with a stylish pattern. Use a countertop resurfacing kit to give old laminate a new look. Install under-cabinet lighting to brighten the workspace. Declutter countertops and add fresh accessories like a new utensil holder or a plant. You can also replace cabinet doors with new ones if you want a different style, but keep the same size and hinge placement. The only limits are areas that require moving pipes or valves, but these are not a problem in a cosmetic refresh.
Is it safe to paint around the sink area where there is water?
It is safe to paint near the sink as long as the area is completely dry and you avoid painting any pipes or the sink itself. Use painter's tape to mask off the sink edge and the countertop around it. Do not paint the caulk or sealant where the sink meets the countertop, because this could compromise the waterproof seal. After taping, allow the paint to dry fully before removing the tape, and do not use the sink until the paint is cured to avoid water splashes damaging fresh paint. If you need to paint the backsplash behind the sink, cover the sink basin with a drop cloth to protect it from drips, and work carefully with a small brush.