Common Mistakes When Planning A Practical Kitchen Refresh Without Moving Plumbing
A practical step-by-step guide to common mistakes when planning a practical kitchen refresh without moving plumbing, including preparation, instructions, common issues, tips, and next steps.
Common Mistakes When Planning A Practical Kitchen Refresh Without Moving Plumbing
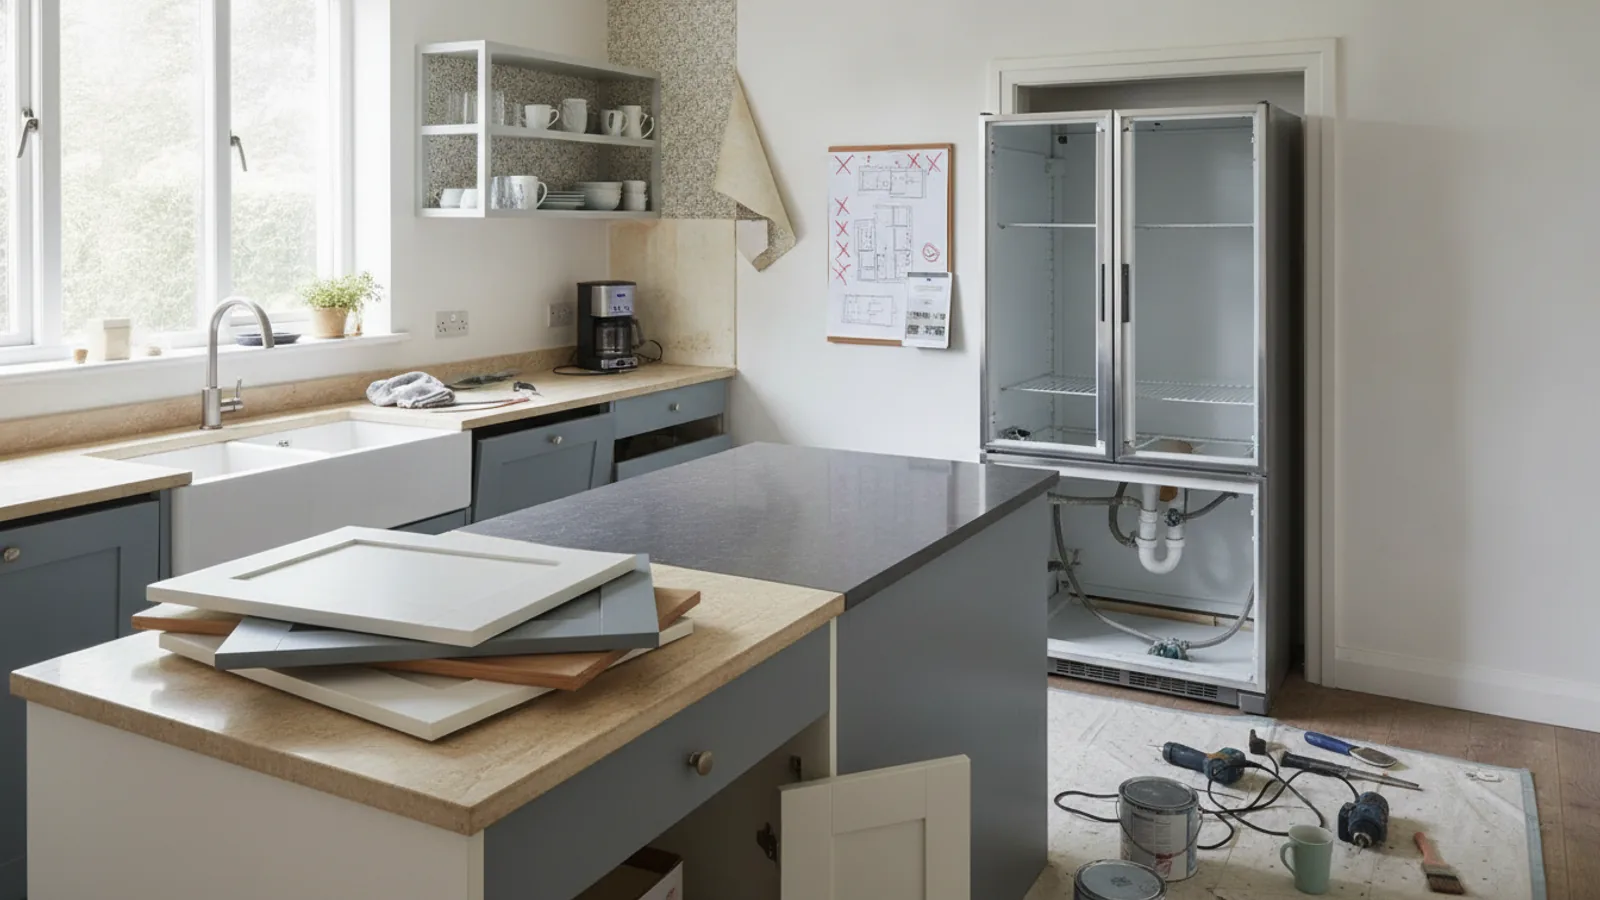
Refreshing a kitchen without moving plumbing keeps costs and complexity down, but simple changes often go wrong when people overlook how existing fixtures, cabinet layouts, and work zones connect. This guide explains the most common kitchen refresh mistakes, from ignoring the work triangle to choosing the wrong cabinet doors. It shows how to plan effectively, avoid costly missteps, and update surfaces, storage, and lighting with the plumbing already in place. You'll learn clear preparation steps, six practical stages, quick fixes for frequent issues, and useful tips to make your kitchen feel new without major rework.
Fast Answer
- First, map every fixed element including the sink, faucet, dishwasher, and base cabinets so your refresh plan works around those exact spots. This prevents last-minute surprises like cabinets that won't fit or counters that block a water line.
- Second, choose materials that match your existing plumbing layout, such as cabinet doors that clear the sink base or a backsplash that can be cut around the faucet. Remember, the goal is an updated look, not a rebuilding project.
Before You Start
- Measure the full width, depth, and height of every base and wall cabinet, noting where the sink base sits and how far the faucet extends. Use a metal tape measure and record each number in a notebook, even if the old cabinets seem standard.
- Draw a simple floor plan on paper showing the sink, dishwasher, refrigerator, range, and countertops. Mark every water supply line, drain, and vent that you know about onto this plan so you can plan around them without confusion.
- Check the under-sink area to see exactly where the plumbing pipes enter the cabinet wall or floor. Note the pipe diameter, the clearance around them, and whether there is a shutoff valve, because cabinet doors and drawer fronts must not hit these parts.
- Photograph all fixed elements from several angles, including the sink basin, faucet holes, and any appliance hookups. Keep these photos with you when shopping for cabinet doors, hardware, or fixtures so you can mentally match them without carrying the parts.
Step-by-Step Instructions
Map the fixed plumbing and work zones first
Your first action is to create a precise map of every fixed item that connects to water: the sink, faucet, dishwasher, and any filtered water tap. On a piece of graph paper, draw a top-down view of the kitchen and mark the exact centers of the sink bowl, faucet, and dishwasher connection point. Then draw all visible pipes under the sink with their approximate distances from the left and right cabinet sides. This map becomes your decision-making tool, because every shelf, drawer, or countertop change must respect those coordinates. After you finish the drawing, place a small ruler against the sink base to confirm that the faucet’s base width does not overlap the cabinet door swing, and check that the dishwasher hose loop has enough room without being pinched. Finally, tuck this map into a plastic sleeve and tape it to a cabinet door so you can consult it during every later step.
Choose cabinet fronts that clear all fixtures
Now that you have a map, move to selecting cabinet doors and drawer fronts, focusing on how they move around the sink area. For the sink base, avoid full-height doors that swing open into the center of the cabinet because they can hit the drain pipe or the elbow of the supply lines. Instead, choose two shorter doors that open to the sides, leaving a clear middle path for pipes. Then measure the depth of your sink bowl; if it protrudes more than two inches below the counter’s underside, you may need a false drawer front that hides the front edge of the sink. As you shop, physically test the hinge swing on a sample door, and check that the door’s maximum open angle does not intersect the faucet handle you plan to install. Use your map to verify that the new door’s width will not block the dishwasher opening, and before you finalize, hold a tape measure against the old cabinet to confirm the new door’s thickness still allows the same clearance.
Update the countertop without disturbing the sink
For countertop changes, plan to keep the current sink location and cutout exactly as they are to avoid any plumbing shifts. Order a new countertop with a cutout shaped to your existing sink, but confirm the precise dimensions of the original cutout before ordering. Before removal, take a close-up photo of the sink’s edge where it meets the counter, and remove the old countertop only after you have a template on paper. During installation, ensure that the underside of the countertop has a clear path for the faucet tailpieces and the water supply lines, and ask the installer to leave a small notch in the underlayment for pipe clearance. Check that the sink rim sits level with the new counter surface, and look under the cabinet to see that the drain tailpiece and P-trap are not pressed against the countertop’s underside. This way, your refresh looks new but keeps the plumbing exactly where it was, saving you from expensive modifications.
Revive the backsplash around the existing faucet
When installing a new backsplash, treat the faucet location as a fixed boundary point that you work around carefully. Cut your tile, metal sheet, or solid panel to fit around the faucet base, leaving a small gap of about one-eighth inch to allow for slight thermal movement. Use a cardboard template to trace the exact hole shape, then transfer that shape to your backsplash material with an awl or pencil. For tile, apply thinset only up to the edge of the faucet base area, then set each cut tile in place, checking that grout lines align with the faucet base. After the adhesive dries, run a thin bead of silicone caulk around the faucet base and along the edge nearest the sink, and smooth it with a wet finger. Finally, turn on the faucet briefly and inspect for any leaks at the caulk joint; if no water seeps through, your backsplash is both attractive and water-safe because the seal protects the wall from moisture without touching the plumbing itself.
Upgrade cabinet hardware and storage fit
Replace knobs, pulls, and hinges on existing cabinets, making sure that new hardware positions do not conflict with the internal plumbing. Remove one knob to measure the current hole spacing, and take that measurement to a hardware store to find a new pull with the same center distance. If your sink base has a false drawer, choose a pull that is short enough not to extend beyond the drawer front’s edge when installed. Install hinges with a small threaded stud that fits the current screw hole, or use a matching hinge template. Inside the sink base cabinet, add a pull-out metal rack that fits around the P-trap, but first check the rack’s depth against the actual wavy pipe shape. When placing storage bins or shelves, keep them away from the shutoff valves, so you can always reach them in an emergency. After mounting a new pull, open the door and see if it catches on any waterline bracket; if it does, move the pull slightly inward and use a spacer washer to create clearance.
Refresh lighting and finishing touches without replumbing
Finally, update kitchen lighting and small decorative elements that make the space feel new without touching pipes. Install under-cabinet LED strips along the lower edge of the upper cabinets, being careful to run the wires away from the sink area and any exposed plumbing. Use adhesive clips that attach under the cabinet frame, and route the wire through a corner to the nearest plug, making sure it does not hang near the faucet. Replace a dated gooseneck faucet with a new model that has the same mounting hole configuration and supply line connection type; measure the old faucet’s thread size and hose fitting before ordering. While you are at it, swap out the dishwasher panel or add a trim piece to match new cabinet hardware. Turn on the water supply valves gently, checking for leaks at each connection point with a dry paper towel, and confirm that all handles move fully without hitting the backsplash or cabinet frame. With the lights on and the sink in use, step back and verify that the refreshed kitchen feels cohesive and works exactly as practical.
Quick Reference
| Situation | Action | Why it helps |
|---|---|---|
| You want to change the sink but the new sink is deeper than the current one. | Measure the depth of the new sink bowl and compare it to the clearance under the countertop, including the drain pipe’s slope. If it fits, but the tailpiece might bend, order a shallow sink or a different drain kit. | A deeper sink can cause the P-trap to hit the cabinet bottom, forcing you to alter the drain pipe, which violates your no-moving-plumbing rule. |
| Your existing faucet has a separate spray head that you want to remove to simplify the countertop. | Plug the spray head hole with a deck plate cover that matches your new faucet’s finish, or select a new faucet that uses the existing hole and covers the extra opening. | This avoids cutting a new hole or using an adapter, keeping the countertop intact and preserving the original plumbing layout. |
| You want to add a pull-out trash bin but the water supply lines block the cabinet interior. | Measure the available space while accounting for the curve of the supply lines, then choose a narrow bin that fits in the side near the door hinge, not in the center under the sink. | Positioning the bin away from the pipes allows you to fill the bin without squeezing past the plumbing, and it keeps the valves reachable for emergencies. |
Common Issues
- You chose a new cabinet door that swings into the sink area and hits the faucet handle every time you open it.: Measure the full swing radius of the door and subtract the faucet’s height and reach from the clear space. If the door overlaps, use a wide-angle hinge that opens only 90 degrees, or select a door that is one inch narrower so it stops short of the faucet base.
- The new countertop template does not account for the existing sink’s rim thickness, causing a mismatch where the counter surrounds the sink.: Before ordering, place the actual sink on the template and trace its exact outer edge after adding the rim thickness. Specify that the cutout be one-eight inch larger than the sink’s outer edge to give room for caulk, then dry-fit the countertop before sealing.
- Your new under-cabinet light strips are powered by an adapter that is too short to reach a plug, so you consider wiring them into the wall, which could involve drilling near pipes.: Measure the distance from the intended mounting spot to the nearest outlet using the safe path under cabinets, and buy an extension cable that fits your strip’s connector. Run the cable along the upper wall edge, secured with adhesive clips, avoiding the area under the sink completely.
Advanced Tips
- Before you order any replacement parts, photograph the inside of the sink base with a flashlight and label each pipe’s purpose; then use that photo as a visual reference when ordering hardware to ensure nothing will clash.
- For an easier cleanup, place a large plastic tray under the sink area temporarily while you install backsplash or new counters, so any spilled grout or adhesive can be lifted out without touching the pipes.
- If your kitchen has a breakfast bar or peninsula, use a portable rolling cart or a slim table that fits in front of the sink area to create extra counter space without altering the fixed plumbing.
Final Checklist
- Have you measured every clearance around the sink, faucet, and dishwasher at least twice and recorded the numbers on your plumbing map?
- Does each new cabinet door, drawer front, and hardware item physically clear every water line, drain, and shutoff valve when opened or closed?
- Did you plug or cover any unused sink holes, and have you turned on the water to test for drips at every connection point?
- Have you confirmed that your new under-cabinet lights have a safe, short wire path that never crosses the sink or a water pipe?
FAQ
Can I change the location of the sink if I absolutely must move it?
Moving a sink usually requires extending water supply lines and the drain pipe inside the wall or floor, which is a major plumbing change. If you cannot avoid it, hire a licensed plumber to do the work, but understand that the job will take more time, cost more, and may involve opening walls or floors.
What is the best way to hide the gap between a new backsplash and the old countertop near the sink?
Use a flexible silicone caulk that matches the grout or countertop color, and apply it in a smooth bead along the joint. Before you caulk, make sure the surfaces are clean and dry, then press the caulk in with a damp finger to create a neat, waterproof seal that hides the gap.
Do I need to replace the P-trap and supply lines when I only refresh the cabinet fronts?
No, unless those parts are damaged or you are moving the sink. Supply lines and P-traps are designed to stay in place as long as you do not change the sink’s location. You can still clean or polish them, but replacing them unnecessarily means extra disconnection and possible leaks. Only replace if you notice corrosion, cracks, or leaks.